Posted on

Improving the Quality Control Standards in Your Laboratory

lab worker organizing equipment

What is laboratory quality control? That’s a loaded question if we’ve ever heard one. With so much science happening in one area, it’s important to adhere to strong standards. This ensures that you can keep doing the tests and research that drives your passion without worrying about hitting snags of any kind.

So what kinds of protocols do labs need to follow? It’s about more than just keeping the workspace clean and maintaining attention to detail. Let’s go over some of the quality control standards you should be vigilant about maintaining. 

Organization

There are likely several people in and out of your lab from day to day, meaning there are several studies and experiments happening at the same time. Keeping these organized and running efficiently largely depends on having the right people in the right positions. Be sure to maintain a hierarchical chart and update it when necessary. Lab managers, safety officers, and quality control supervisors are all vital positions whose jobs should be done diligently.

Inventory

There’s a lot of equipment within the walls of a lab. Because of this, it’s important to document and categorize each item in the space. Be sure to train the proper individuals when any new piece of equipment is introduced to the lab, and always make the manuals accessible to everyone. In addition, keep logs of any equipment malfunctions so you know what items need some TLC from maintenance professionals.

Personnel

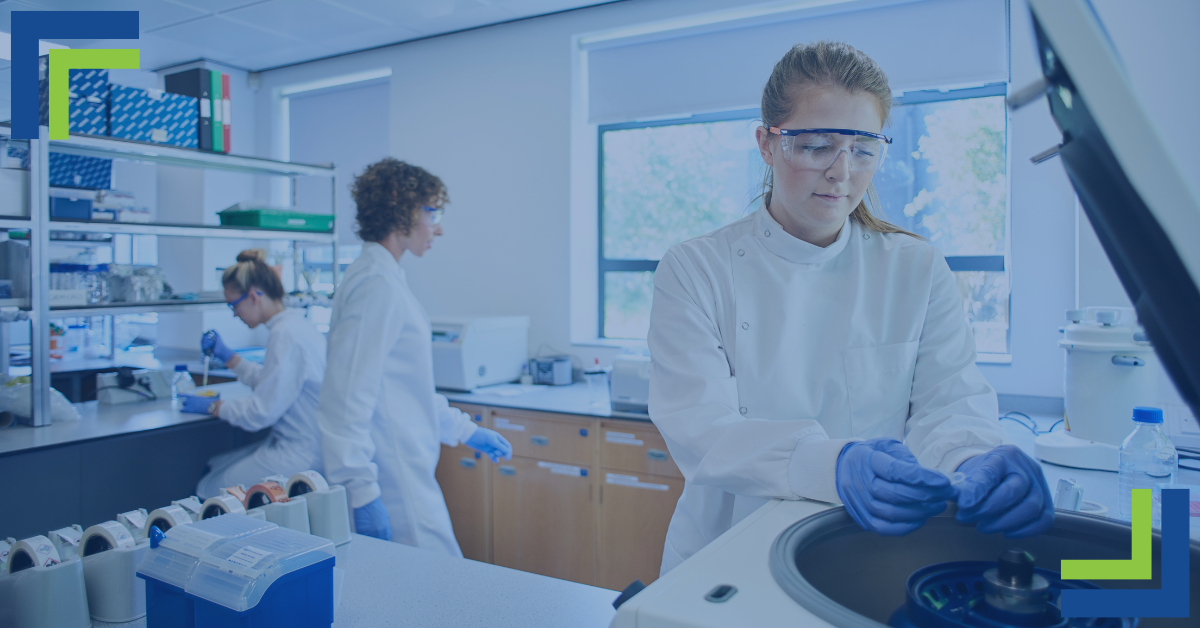
Your people are the most important lab resource. Without them, everything else is useless. That’s why it’s so important to make sure they’re always working to the best of their abilities. We’re not suggesting you run things like a boot camp, but routine training and staff/management meetings are a great way to keep open dialogue across the board. Making sure everyone is adhering to the lab’s Standard Operating Procedures (SOPs) is paramount, so performance and proficiency tests need to happen as well.

Process Control and Improvement

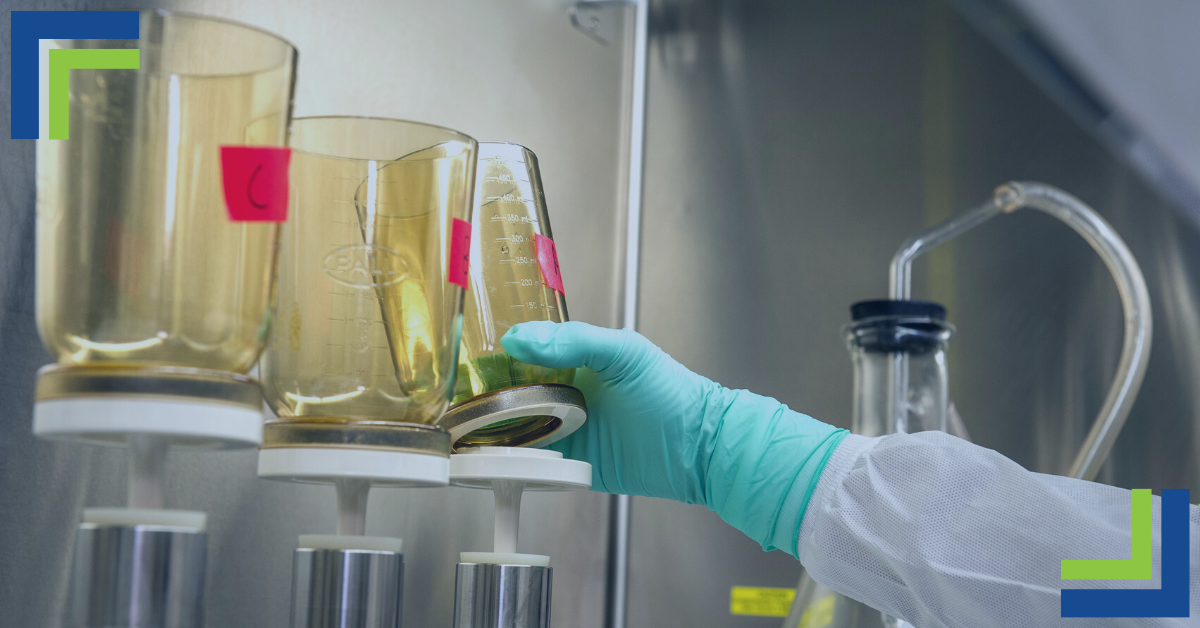
Process is important for any successful business, but more so for a lab. The focus here is the handling of samples, equipment, and other specimens. We’ve already touched on making sure personnel receive proper training on equipment, but it’s important to have pre-analytical, analytical, and post-analytical processes in place. Be sure to appoint the best person for the job to coordinate workflow.

Occurrence Management

We’re all human, meaning accidents happen. Even the best labs have faced their fair share. In preparation for an unexpected event, it’s advisable to have plans in place to mitigate the incident and take steps to prevent it from happening in the future. If necessary, consider retraining programs on equipment servicing. If you want to make sure you’re covering all your bases, a qualified entity such as Bane Bio is more than happy to step in.

Facilities and Safety

Labs contain hazardous materials. Like any establishment that works with potential dangers such as this, having strict safety policies is a must. Making all safety equipments such as, first aid kits and extinguishers easily accessible should be a priority as well as mandatory safety trainings for everyone who works in the lab. As mentioned above, you should have an emergency response plan in place… just in case!

Client Communication

If you’re offering lab services to external clients, it’s important to maintain an open line of communication. This allows ideas and feedback to travel between both parties quickly, which helps the overall process stay on track!

Document Everything

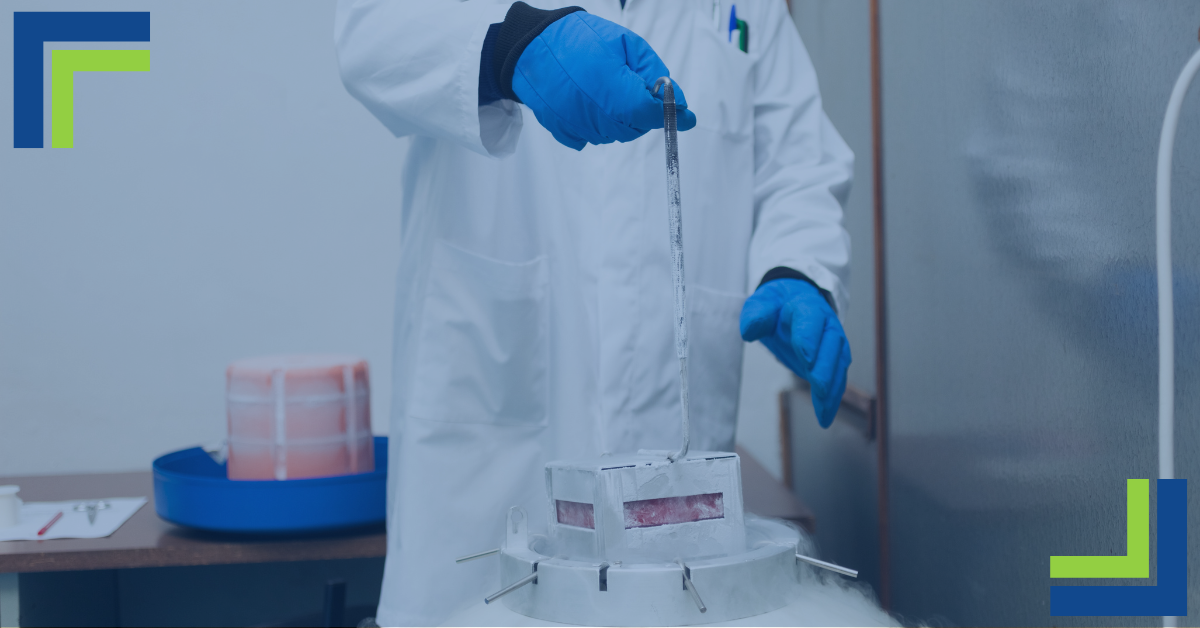
Take everything we’ve talked about thus far and document it thoroughly. Lab rules, hours of operation, current projects, safety protocols—all of it should be documented to include every detail. SOPs should be in writing for all procedures including specimen collection, storage, transport, and disposal.

This is just a brief overview of the things you should be keeping in mind to maintain the safety and efficiency of your lab. We could go on all day about methods for improving laboratory quality control—it’s a passion of ours! We hope you use this as a starting point for developing your rock-solid quality control protocols.

For any laboratory equipment or service needs such as logistics, repairs, or service plans, keep BaneBio top-of-mind. We’re the home of the scientific supermarket, and we’re here to help!

Posted on

Emergency Preparedness: Expecting the Unexpected in Labs

scientists working in lab

Like it or not, a laboratory can be a dangerous place. After all, it’s filled with chemicals as well as equipment that’s often heavy, fragile, sharp, or all three! That doesn’t mean all laboratories are dangerous, though. In fact, yours can be pretty safe, as long as you maintain a heavy focus on safety at all times.

The first step to being safe is anticipating what can go wrong, so why don’t we talk about some common hazards that you may have to deal with in your lab?

Emergency: Fire

You should always be wary of the potential for a fire, but pay extra close attention to a few select places. If you store flammable chemicals in your lab, this is a highly likely spot for a fire. The same goes for electronics, especially those that are meant to provide heat for any purpose.

While anticipating flames is important, you should also be prepared for a scenario in which it actually happens. Is there a sprinkler system that will kick in? Do you know where the fire extinguisher is? Do you know how to access and use it? Be sure to provide proper training for this equipment to all lab employees so that everyone is prepared if the situation were to occur. 

Emergency: Flood

Depending on the situation, water can be a great help or an immense hazard. In a lab, it can become the latter in several ways. Is the lab in an area where rain is common? Is it on the first floor of the building? Are there a lot of overhead pipes that could potentially burst?

If your answer to any of those questions is “yes,” be sure to have a contingency plan in place. Floor drains are highly advisable, as is equipment that you can use to manually remove water, like an industrial shop vac. It’s also crucial to keep water away from any electrical equipment that could harm you should it get wet, so be mindful of this if you find yourself in an unfortunate flooding situation.

Emergency: Extreme Weather

Nature will always be a force to be reckoned with, even in the perceived safety of the indoors. It can be a catalyst for the aforementioned flooding, but water damage isn’t the only thing bad weather can bring.

It’s always wise to anticipate strong winds from hurricanes or tornadoes. If you’re in the planning stage for your lab, consider finding a space away from outside walls and windows of a building. Should your lab still be at the mercy of destructive winds, remember your employees’ safety is top priority. Ensure they are in the safest place possible should bad weather hit while they’re in the lab. Memorize all the shelter in place procedures and know the “danger zones” to avoid.

Emergency: Hazardous Material Spill

Of all the potential emergencies a lab can face, hazardous materials present the widest range and most common forms of danger. Depending on what chemicals are being used, you could be facing anything from chemical burns to explosions.

Most chemical spills are easily dealt with by laboratory staff, but only if the lab itself provides them with the necessary equipment. Eye wash stations are a must, as well as proper protective gear and disposal containers. In the event of a more subtle emergency such as a gas leak, it’s imperative that monitoring devices are in place. Just as you wouldn’t set up a lab without a sprinkler system, you need to have things in place to detect harmful substances.

What about the incidents that are too big for your staff to handle? Having a rock solid response plan is crucial. Know the evacuation procedure, how to clean yourself off, and who to call to handle the cleanup. All of these procedures should be memorized by everyone before even a single bunsen burner is turned on.

Setting up a lab is hard work, but it’s all worth it to make sure things are done properly and employees are kept safe. While cutting corners may seem productive in the immediate future, you’ll be regretting it if you’re faced with a lab fire or hazardous material spill. BaneBio is an industry expert in setting up your lab for success. With extensive experience in lab logistics, we’ll make sure you start on the right foot with safety in mind.

Posted on

How to Successfully Set Up a New Lab

scientist working in lab

It’s the biotech entrepreneur’s dream. A science-based startup business’ Graceland, if you will. It’s lab design time, and BaneBio is here to walk you through the process of setting up your new lab design. 

The Business of Labs

The best opportunities begin with business plans, and a lab is no exception. Your business plan should include the following:

  • An executive summary
  • Company description
  • Market analysis
  • Organization structure
  • Management structure
  • Outline of services
  • Products offered
  • Funding request

This high-level overview of your company spells out why you know your lab will be successful, the services it will provide, the structure in place, and where dollars are allocated to make it profitable. If you’re looking for investors or a loan, this plan will come in handy to pique their interest. 

The Space

There are several ways to get rolling on your lab, from leasing spaces that once housed labs to building your business to spec. Although it is more costly to start from scratch, trying to fit into a former science space may not be ideal if they were not operationally set up similarly to the services and research you’ll offer. 

The Start-Up

Building a lab from the ground up is an investment. It’s one of the reasons why BaneBio is home of the scientific supermarket and is meticulous about prime used lab equipment. When selecting each piece that will make up your laboratory, following your budget is critical. Pay attention to where each dollar is going, from the flooring to the number of workspaces required. It’s not about cutting costs: it’s about making the best decisions when securing inventory and building your infrastructure. 

The Move

Moving large equipment and some lab-specific items may require specialty movers. Two guys and their truck may not be licensed to transport your items. You also want to ensure that your inventory is relocated by professionals who understand the precision required. When moving frozen storage, ensure all freezers are working and meet temperature requirements before stocking them. 

The Equipment

Now comes the fun part! BaneBio’s team is well-versed in helping labs of all sizes select just the right pieces. The type of labwork your company performs means you’ll need specific items. You can always add more tech and lab items later. What you need now is an expert like BaneBio to get you up and to run the right way. 

The Employees

You need more than a simple “Help Wanted” ad to build your team. Acquiring the right talent is critical, from compliance and labor laws to certifications and specialty areas. Remember, part of the lure to attract team members comes down to benefits, compensation, company culture, communication tools, and having the right leaders in place to encourage communication and job satisfaction. 

Let BaneBio Take the Stress out of Your New Laboratory 

BaneBio has lent its expertise and services to laboratories in the BioHealth Capital Region for over a decade. We are your trusted laboratory sales and moving service provider with the equipment knowledge, proper equipment handling materials, and proven customer satisfaction to meet and exceed your expectations.  

Don’t just let any company offer their purchasing suggestions or move your valuable scientific equipment: trust BaneBio, the Lab Logistics experts. Contact us today!

Posted on

Phases for Decommissioning a Lab

lab tech decommissioning a lab

Decommissioning is quite an undertaking whether you’re renovating, relocating, or closing a lab. It’s a project that must follow specific guidelines to ensure standards are followed with minimal liability. If you’re wondering how closing a lab works, we have the steps to follow: a lab closure checklist to assist you from beginning to end.

Develop a Plan

Before your team gets started with the phases of decommissioning a lab, you need a plan. Start by checking your equipment and chemical inventory. Once completed, it’s time to begin a full lab audit.

  • Lease obligations – If the parameters concerning moving out and decontaminating your space are vague, it can turn costly. From damage to walls and floors to discovering unanticipated waste or contaminants. It’s best to prepare for the unexpected and gather as much information as possible concerning landlord expectations ahead of time.
  • Seek guidance – Ask colleagues who have been a part of lab decommissioning for their advice concerning what worked well, what did not, and what they would have done differently. 
  • Find the stakeholders – Internally, your researchers, facilities group, the finance department, and environmental health and safety teams should play an integral part. Externally, keeping the property owner informed and part of the process is critical.
  • Dispose of chemicals and equipment – If not storing them, dispose of chemicals properly. If you have lab equipment you’re ready to part with, contact Bane Bio. We are the scientific supermarket and happy to help you sell your inventory.
  • Licenses and permits – Are there some permissions that must be managed to dispose of lab items? Some take a while to secure, like the disposal of radioactive materials. Have all licenses and permits in place before starting the big move. 
  • Decommissioning costs and enlisting partners – Some companies can help you move the process along efficiently. Working with vendors who specialize in this project may be worth the investment.
  • Storage – Are there some items that you plan on keeping? Do they have a place to go? Make sure a storage location and the proper moving help are scheduled early in the process. 
  • Safety and security – If chemical exposure is a risk, or you have high-dollar equipment moving out, safety and security plans must be enacted. 

Assess Decontamination Areas

Areas must be assessed and cleaned wherever chemicals are stored and utilized. Other rooms, like offices and common areas, will have different needs. Create a list of which rooms need decontamination and which require a little spring cleaning. It is your responsibility to clear the lab thoroughly and responsibly.

Areas to decontaminate include: 

  • Work surfaces, tables, drawers, shelves, and cabinets
  • Floors and walls
  • Waste receptacles
  • Chemical storage areas
  • Any spills
  • Cold rooms
  • Animal care areas
  • Fume hoods
  • Plumbing 
  • All lab equipment
  • Wastewater systems
  • Waste pickups

Decontamination Documentation

Note everything that’s been completed and the procedures followed. Keeping accurate records means you have answers if there are questions later on. Your records should include:

  • All assessment data
  • Means and methods of the assessment
  • Cleaning protocols for each area
  • All chemicals and hazards present during the process
  • How levels of risk were mitigated
  • All acceptable levels of risk certified by an industrial hygienist
  • Where hazardous and nonhazardous waste was disposed of
  • Where itemized equipment is now stored 
  • Photos that show the lab before and after decommissioning
  • Contact information for all who were part of the process

BaneBio understands the pressures of closing labs and what to do when you’re ready to rehouse your equipment. Let our team of highly-trained service technicians step in and assist with your gently-used items. Headquartered in Maryland, BaneBio proudly serves scientific communities throughout the world. Get in touch and let us know how we can help!

Posted on

Why is Preventive Maintenance So Important for Lab Equipment?

assortment of lab equipment on table

You know what preventative maintenance is, but you haven’t pulled the trigger yet. We get it. The thought of paying for maintenance at regular intervals seems like a waste of time when there are no immediate issues. But when it comes to lab equipment, it’s a must. Let’s take a moment to consider its benefits, and you’ll be wondering why you didn’t opt in sooner!

Fewer Breakdowns

This might be the most important one, because it’s related to pretty much every benefit we discuss in this article. In short, fewer breakdowns means your entire operation runs more smoothly.

Most mechanical failures are due to neglect or improper use, so being proactive about upkeep really does go a long way in maintaining the integrity of your lab, its workers, and of course, its equipment.

Optimal Efficiency

When we talk about breakdowns, we’re usually referring to total operation failure. What many people often don’t consider is the fact that your equipment running doesn’t mean it’s doing the best job it can do.

Take a heavily used battery-operated machine, for example. Sure, it’s working, but the battery life itself is only a third of what it used to be. It’s the same with all equipment in some way. Failure to maintain working parts and replace faulty ones will mean diminishing returns in quality and currency.

Increased Lifespan

Equipment that receives a healthy amount of TLC will thank you by running longer! When it comes to machinery of any sort, mean time between failures (MTBF) should be monitored. Doing so will allow you to properly plan the ideal time to have maintenance performed. This approach means you’ll likely take care of any impending breakdowns before they have a chance to derail your operations. Fewer breakdowns means less damage, and less damage means equipment that stays running for longer.

Minimal Unplanned Downtime

Wait too long to service your equipment, and it could remind you in a pretty harsh manner. Sure, reactive maintenance ends in a fix (hopefully), but your progress is at a standstill until that happens. Minutes or hours of downtime for planned maintenance is much better than days or weeks of panicked fixes, right?

Employee Health and Safety

There’s also the wellbeing of those who operate the equipment to consider. You should always be operating under the assumption that any piece of equipment, electrical or mechanical, has the potential to cause harm. A bad wire on a microscope could zap someone or create an ill-timed spark. A robotic arm with faulty failsafes could cause serious harm to any limbs that are in the wrong place at the wrong time. 

Preventive maintenance ensures that these risks are kept to an absolute minimum. Taking the time to have it done could save you the emotional and financial burdens caused by a workplace injury.

Additionally, if your business is subjected to a safety audit and your equipment isn’t up to snuff, it could mean your entire operation being put on hold.

It Saves You Money

All of the things we discussed above lead to the same benefit. Preventative maintenance saves you a lot of money. Sure, the maintenance has a price tag on it, but taking a step back and looking at the bigger picture will reveal a brighter future. It minimizes downtime, which saves you money. It optimizes work quality, which builds trust with your clients and financial supporters. It reduces the risk of injuries that could cost you thousands or even millions, depending on severity.

Are you making moves to create the most effective laboratory environment possible for your business? Get in touch with BaneBio! Our top-condition products and expert services make us the ideal partner for your lab!

Posted on

Older Than You Think! A Brief History of Microscopes.

white microscope

It has aged quite well. 

The microscope is centuries old. In the early writings of Roman philosophers, they mention “burning glass” which sounds like they were onto something big. The first invention to enhance small object observation was made in the late 1300s when two lenses were placed at opposite ends of a tube. This prototype launched what we know as the microscope. 

The Early Microscope History

During the 13th century, grinding glass for spectacles (glasses) and magnifying glasses was standard. In the late 16th century, Dutch lens makers designed devices that could magnify objects. In 1609, everything changed. Galileo perfected what was named the microscope. 

The compound microscope was invented by Dutch spectacle makers Zaccharias Janssen and Hans Lipperhey. They realized that placing different types and sizes of lenses on opposite ends of the tubes enlarged small objects. 

A New Discovery

In the late 16th century, while polishing and grinding lenses, Anton Van Leeuwenhoek discovered that specifically-shaped lenses increased an image’s size. His glass enlarged objects several times their size. The visual quality made it possible to see items at a microscopic level. Animals, bacteria, and the intricate details of everyday objects never before seen by the human eye were now clear and visible. Leeuwenhoek’s discovery made him the founder of microscopy, and his work was vital to developing cell theory. 

The Achromatic Lens

One hundred years passed before the microscope had its next significant improvement and solved a problem. Early models allowed light to refract when passing through the lenses, altering what images looked like rather than just enhancing their size. The achromatic lens, created for eyeglasses, improved the visual acuity of the microscope. 

Other Improvements

Changes abounded during the 18th and 19th centuries for the microscope in terms of housing, design, and quality. They became more stable, smaller, and visual acuity continued to improve. 

Several people contributed to its modern-day evolution. August Kohler invented uniform illumination allowing specimens to be photographed. Ernst Leitz figured out how to use different magnifications by putting multiple lenses on a turret that rotated at the end of the lens. Ernst Abbe discovered how to allow more light-spectrum colors to become visible. His design later led to the development of the ultraviolet telescope. 

Modern Microscope Technology

Thanks to the thinkers and inventors who saw ways to enhance its primitive design, the microscope has allowed scholars and students to study and discover the world around them. We can now see what was once unseen, which has led to the discovery of species, understanding bacteria, and cures for disease. Science––the world––is a better place thanks to the abilities and improvements of the microscope.

Ready for a microscope upgrade? BaneBio has been providing equipment to laboratories in the BioHealth Capital Region for over a decade. We are your trusted laboratory product provider that will meet and exceed your expectations. Don’t just buy your equipment anywhere. Trust BaneBio, your Lab Logistics experts. Contact us today!

Posted on

Manual-Fill vs. Automatic-Fill Dewars: What’s the Difference, and Why It Matters

scientist using cryogenic container

Cryogenic-storage options: decisions, decisions…

Labs make critical and calculated decisions daily, yet when it comes to choosing between a manual or automatic dewar system, investing depends on which type best suits your lab’s needs. 

What are liquid nitrogen dewars?

Liquid nitrogen dewars, invented by Sir. James Dewar of London in 1892, allows fluids to be maintained at low temperatures for a certain amount of time. Over the years, the dewar system has seen several iterations, innovations, and is simple in construction and design. The non-pressurized, air-jacketed structure includes two or more layers that are vacuum-sealed to prevent leaks, providing safety and thermal retention insulation. These freezers store tissues, cells, or other samples at temperatures reaching a frosty -196℃. The dewar has a loose-fitting plug or cap that is movable, preventing moisture and air from entering the chamber yet allowing liquid nitrogen evaporation. 

Manual-fill pros and cons

For the basic manual-fill dewar, the biggest win is its cost-effectiveness. The simple design means fewer problems with the freezer’s function. Once the tank is manually filled to the desired level, checking for evaporation rates, signs of frost on the outside of the tank, and monitoring for leaks is all it takes to keep it running in top form. Space within a lab is a precious commodity. These systems typically take up less real estate than their autofill counterpart by not requiring LN2 storage directly next to the freezer. 

One of the downsides of manual-fill systems includes checking liquid nitrogen numbers daily. The liquid nitrogen is generally topped off every two weeks, depending on how the freezer is accessed to retrieve items inside. Levels must be constantly watched, meaning there’s more room for error, which can affect samples. While investing in a monitoring system can help you keep an eye on LN2 tank levels, temperatures still must be monitored. That additional process equals time and energy that could be spent focused on other lab tasks. 

Autofill pros and cons

The name says it all: autofill systems do the heavy lifting for you. A liquid nitrogen source is connected to the tank and maintains LN2 levels automatically. Visual and audible alarms will alert if there is a system malfunction. Autofill also provides greater capacity to store LN2, alleviating the constant fear of running low. 

Here’s where autofill systems become tricky: there must always be an LN2 source stocked and functioning. Without it, the temperature could be compromised, leaving stored samples in a precarious situation. Autofill systems are pricier and they require more work to install and get running. Configuring the condensation collection system for moisture that pools on the transfer hose and installing the pressure regulator requires precision and accuracy for the system to work correctly. The investment in an autofill system can be hefty as can the uptick in electricity usage—huge considerations when considering budgets and the bottom line. 

Which is the system for you?

When you’re unsure which cryogenic system works best for your space, or an upgrade is in your future, let BaneBio help you sort through the details and secure the right storage for your lab’s needs!

Posted on

Labs on the Move: Things to Consider When Moving Your Lab

two scientists packing up lab equipment

Moving is never easy. A residential move is considered one of the most stressful life events, so how much more stressful is it to move an entire laboratory full of equipment and employees to a new location? BaneBio makes the process a lot easier, starting with these eleven things to consider when moving your lab.

1. Timeline Flexibility

Be prepared for timelines to shift due to supply chain-related delays, difficulty in identifying quality service providers, and the labor market. Although workarounds are possible, unforeseen issues do occur, which means having some level of flexibility or contingency options built into the timeline can make a difference.

2. Facility Constraints

When deciding to relocate your entire lab, the built-in constraints of the facility should be considered.

  • Are the hallways wide enough for large equipment? 
  • Are the doors to the labs standard or lab ready? 
  • Does the facility have a loading dock or dedicated shipping/receiving area which is accessible by tractor-trailers?  
  • Does the facility loading dock require appointments for pickups/deliveries?  
  • If the facility is a multi-level building, is there a dedicated service elevator? 
  • Is the building secure?  
  • Does the facility provide the lab services, equipment, and amenities your organization needs to succeed and reach its next growth stage? 
  • Does the facility provide space and financial options suitable for expansion? 

Keeping these factors in mind can help you narrow down your decisions when choosing a new location.

3. Electrical Planning

There are many different types of lab equipment used in a biotech lab, with a variety of power requirements and plug adapters. Be sure to install proper outlets for the plugs with your equipment and, most importantly, be sure there is enough power in your lab to support the equipment you will be using. Often, insufficient power and inappropriate outlets are the top reasons for delays in getting your new lab up and running. 

4. Choosing a Lab Moving Service Provider

Let’s face it: Moving sucks and moving an R&D lab really sucks. Mapping out your move and connecting with the right moving partner can make the move suck a lot less.  

First, start with identifying and engaging with at least three laboratory moving service providers.  Talk through your move and be sure to ask questions of the prospective movers to achieve a level of trust and understanding of the scope of services required. As part of the process, ask the movers for references from previous lab moves. 

It’s best to understand the capabilities of the movers and the material handling equipment which will be used for moving specific types of equipment, such as biosafety cabinets, incubators, centrifuges, analytical instrumentation, and liquid handlers.  

Keep in mind that relocation pricing should not be the primary factor in your choice of laboratory moving service providers. The equipment in your lab is critical to your operation and requires movers with specialized processes to keep your equipment intact and operational after the move.   

5. Moving Preparations

Assign one person to be tasked with being the coordinator for the move. Having one point of contact between the lab and the moving company eliminates confusion, frustrations, and mistakes. The assigned coordinator should provide the moving company with a map of the new lab, including proposed locations for all equipment, supplies, and office furniture which are being moved. Any equipment, supplies, or furniture which are not to be moved or will be disposed of or sold should be marked.   

Equipment that is under the manufacturer service contract should be coordinated with the manufacturer to ensure the equipment is properly shut down and prepared for relocation. 

6. Pre-Move Packing

Use the days or week before the move to ‘pre-pack’ as much as possible. Employee desk contents and personal items, office items, kitchen items, lab consumables, and lab drawers are items to be considered for pre-packing. Partnering with a lab moving service provider that issues carts, cages, crates, and packaging for the pre-packing process can be a time saver. 

7. Use and Occupancy

The new lab is almost finished, and there is anxiety, anticipation, and excitement for the team to be in the new lab. There is, however, one critical missing piece that is required before the team can use the new lab: the Certificate of Use and Occupancy or, depending on the jurisdiction of your new facility, the Certificate of Occupancy.  

This is one item that can be an afterthought during the process of relocation but without this certificate, there is no occupancy or use of the new lab.  

The responsibility for this certificate usually falls to the general contractor, property owner, or builder of the new lab. Connect with them and make sure all is in order before you move in.

8. Moving Day

The big day has finally arrived. The moving company’s project manager and your assigned moving coordinator have worked out the details, and it’s time to act. 

It’s important for the success of the relocation project to keep all areas where the movers need to move equipment clear. Hallways and doorways should be clear of all barriers and obstacles to allow the movers to move efficiently.  

9. During the Move

While the move is happening, resist the urge to manage the proceedings and let the movers concentrate on moving the equipment. Any questions should be funneled through the moving coordinator.  

If anything needs to be relocated, it will be done when the moving company can accommodate the request. You hired the professionals to handle your move, so trust them to take care of everything.

10. After the Move

As the company settles into its new surroundings, some follow-up items may surface that need to be addressed with the moving company. Items such as missing boxes, equipment, or requests for items to be adjusted, shifted, or relocated should be consolidated and then provided to the company coordinator for follow-up with the moving company. 

11. Project Completion

The company coordinator and moving company project manager should discuss the move in detail to be sure the company is satisfied and the scope of the service has been completed.  The moving company should provide a summary of the services they provided, noting any items of relevance to the final invoice. 

Let BaneBio Take the Stress out of Your Laboratory Move

BaneBio has provided complete relocation services to laboratories in the BioHealth Capital Region for over a decade. We are your trusted laboratory moving service provider with the equipment knowledge, proper equipment handling materials, and proven customer satisfaction that will meet and exceed your expectations.  

Don’t just let any moving company move your valuable scientific equipment; trust BaneBio, the Lab Logistics experts! Contact us now for your laboratory moving needs.

Posted on

Things to Consider When Buying a Microscope

black and white microscope

If you’re looking to add a new microscope to your lab, you’ve likely discovered it’s not always easy to figure out the best model for your needs. You can begin to narrow down your choices by identifying exactly what you’ll be viewing with the new equipment. Once you’ve done that, the other pieces will fall in place.

Here are a few things to consider.

1. Longevity 

You’ll be using the microscope frequently, so make sure you choose one that’s made of durable materials, such as metallic alloys, and that all joints are fastened with metal screws. The microscope’s finish should be resistant to reagents and easily cleaned. Once purchased, make sure to add the equipment to your lab’s preventive maintenance list.

2. Lighting

You’ll see many lighting options when buying a microscope, including fluorescent, incandescent tungsten-halogen halogen bulbs, and LED illuminators. 

Tungsten-halogen bulbs can become hot during use. By comparison, fluorescent and LED lighting systems emit low heat, which makes them better choices for viewing samples that may be affected by the environment.

3. The Stage

A mechanical stage is usually a better choice than a manual one, especially when viewing at high magnifications. Mechanical stages allow easier slide adjustment in a fine differential, making the tracking of moving organisms more effective.

4. Digital Microscopes

Digital microscopes can be compound or stereo. They allow users to capture video or still images for display on a computer. These microscopes contain software for zoom, time-lapse photography, editing, and special effects.

5. Compound or Stereo?

The choice between a compound or stereo microscope depends on what you’ll be viewing. Stereo microscopes are used to view larger 3-D objects like insects, minerals, or mechanical pieces. Compound microscopes are better suited for applications involving high magnification for forensic or biology labs, such as viewing tissue samples and cells.

Compound microscopes can be monocular or binocular, and usually feature several objective lenses that can be selected to increase magnification. 

Stereo microscopes are a popular choice for the classroom and the hobbyist because they’re easier to set up and use. However, for the close-up magnification required in most laboratory settings, a compound microscope is the better choice. 

6. Chromatic Aberration Correction

The most common objective for lab microscopes is the achromatic objective. These are corrected for aberrations in the blue and red wavelengths and are also spherically corrected for green. While the most affordable option, its limited correction can lead to artifacts. Note that If the objective isn’t specified, it is achromatic.

Semi-apochromats, or fluorites, are the second objectives on this list. While more expensive than achromatic objectives, they have additional spherical corrections for blue. Fluorites are a better choice for recording and color viewing.

Apochromats are the most expensive objective, but they’re the most highly corrected of the three options. These are chromatically adjusted for blues and dark blues, red, and green. They’re spherically corrected for blue, deep blue, and green. The apochromatic is by far the superior choice for color viewing.

Look for objectives that boast plan correction, as these offer a 90% flat display for a larger field of vision.

New or Used?

One consideration when buying your microscope is price. If your budget is more limited, you can purchase a refurbished, used microscope from BaneBio. We can even purchase your older microscope, or take it in trade for your new purchase. 

If you have questions, don’t hesitate to contact us. With over 14 years of experience, we have the expertise to help you choose the perfect microscope for your lab and your teams.

Posted on

Top 5 Cold Storage Unit Best Practices

scientist handling cold storage unit

Your cold storage units are the unsung heroes in your lab. They’re the pieces of equipment you never think about until they stop working.

Here are five best practices for your cold storage units:

1. Make Sure The Cold Storage Unit is Evenly Stocked

An improperly stocked freezer is prone to extreme temperature shifts when the doors are opened. A good rule of thumb is to try to keep the equipment at least 30% full if possible. If this isn’t possible, add a few gel packs or sealed water bottles to keep the temperatures consistent.

Conversely, don’t overstock your cold storage. Not only will this block airflow inside the unit, it will cause your staff to keep the doors open longer searching for items. 

Avoid stocking materials that are extremely sensitive to temperature fluctuations on the top or bottom shelf of the unit. Instead, place them on the middle shelves of the unit to help them maintain a steady temperature.

2. Keep Your Cold Storage Equipment Cleaned and Sanitized

The best way to discourage bacterial contamination in your cold storage units is to make sure they are regularly cleaned and disinfected. A soft rag and a neutral cleaner is best for this task.

If possible, remove shelves and wipe them down, allowing them to dry completely before returning them to the unit. Clean both the interior and the exterior of the unit, paying attention to the coils as well.

To properly clean the condenser coils, use a vacuum, air jet, or a dry brush. Clean coils keep the heat exchanger working optimally, increasing the lifespan of the equipment while reducing its energy usage.

Never use bleach or harsh disinfectants that could potentially harm your equipment.

3. Frost Control

While no laboratory wants to place a cold storage unit out of service, it’s necessary to schedule a defrost at least once per year, or whenever the frost is more than one centimeter thick. This increases the unit’s energy efficiency and ensures an even temperature. Use this time to check all gaskets and door seals to make sure they’re still sealing properly.

4. Labels Facing Out

Position all items in cold storage with the labels facing out to ensure staff can quickly find what they’re looking for. This helps reduce the amount of time the unit’s doors are open. Discourage random repositioning of stored items. Your lab may even benefit from a spreadsheet that outlines where items are stored in the unit.

5. Replace Cold Storage Units In Time

As cold storage units age, they’ll become increasingly unreliable and consume more energy. You may find your lab is frequently repairing older units. As a rule, the average lifespan of a cold storage unit is twelve to fifteen years. If your equipment is nearing its end of life, consider purchasing a new one or replacing it with a newer used one.

BaneBio is Your Partner for New and Used Cold Storage Equipment

If it’s time to replace your lab freezer or refrigerator, BaneBio has the products you need. Whether you’re looking at a new piece or a certified used piece, browse our products and find your perfect replacement. We accept trade-ins and purchase used lab equipment as well. Reach out to us and learn more!